Anúncios
One such practice that is gaining popularity is worm composting, a simple and effective way to recycle kitchen waste right in your apartment. This process not only reduces the volume of garbage ending up in the landfill but also enriches the soil with nutrients. In the forthcoming text, we will delve into the realm of “Apartment-Friendly Worm Composting: How to Create Your Own DIY Bin for Eco-Friendly Living.”

Creating your DIY bin for worm composting isn’t as daunting as it sounds. Contrary to popular belief, it doesn’t require a vast amount of space or specialized equipment. What it does require is a bit of understanding, patience, and willingness to contribute towards a greener planet. In the ensuing sections, we shall illuminate the step-by-step procedure to set up a successful worm composting system in your apartment.
Anúncios
No discussion on worm composting would be complete without touching upon its many benefits. This natural process provides a rich source of nutrients for indoor plants and kitchen gardens, promoting healthier growth. Furthermore, it aids in reducing one’s carbon footprint, a significant step towards sustainable living. We will discuss these benefits in detail, providing insights into how worm composting can revolutionize your approach towards waste management.
Lastly, we will address some of the common queries and misconceptions surrounding worm composting. Whether it’s about the type of worms to use, the kind of waste they can consume, or how to maintain the compost bin, we have you covered. By the end of this text, you’ll be equipped with all the knowledge needed to embark on your worm composting journey. So, let’s dive in and uncover the secrets of this eco-friendly practice that is apartment-friendly worm composting.
Anúncios
Understanding Worm Composting
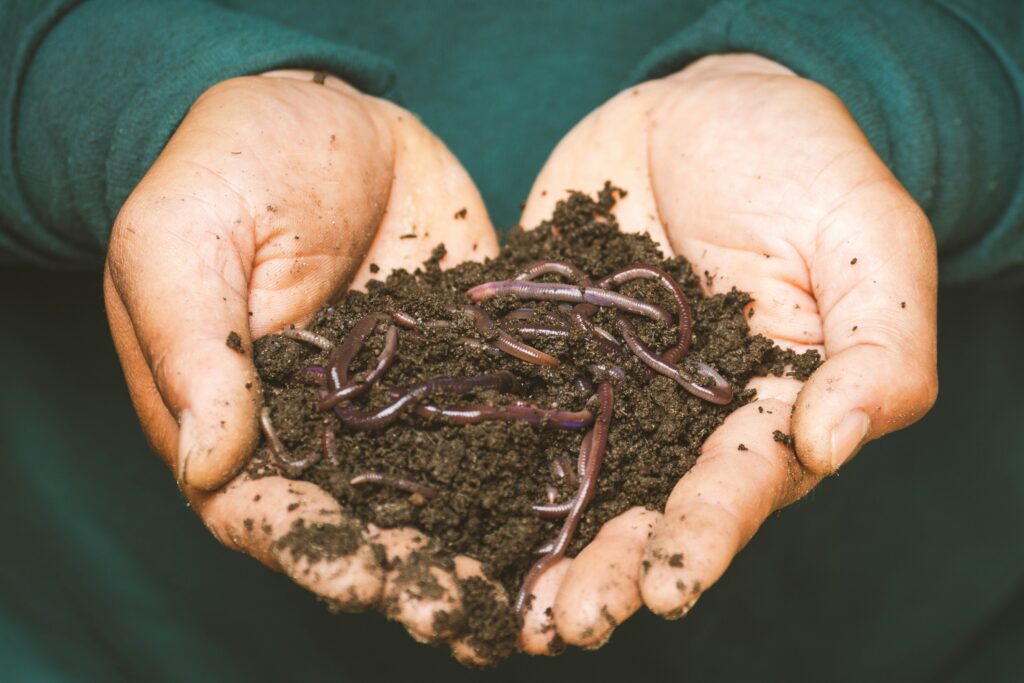
Worm composting, also known as vermicomposting, is a method of turning organic waste into nutrient-rich soil through the use of earthworms. It is a highly efficient way to reduce household waste, and best of all, it’s apartment-friendly. Worm composting doesn’t require a large amount of space and doesn’t produce unpleasant odors when properly managed.
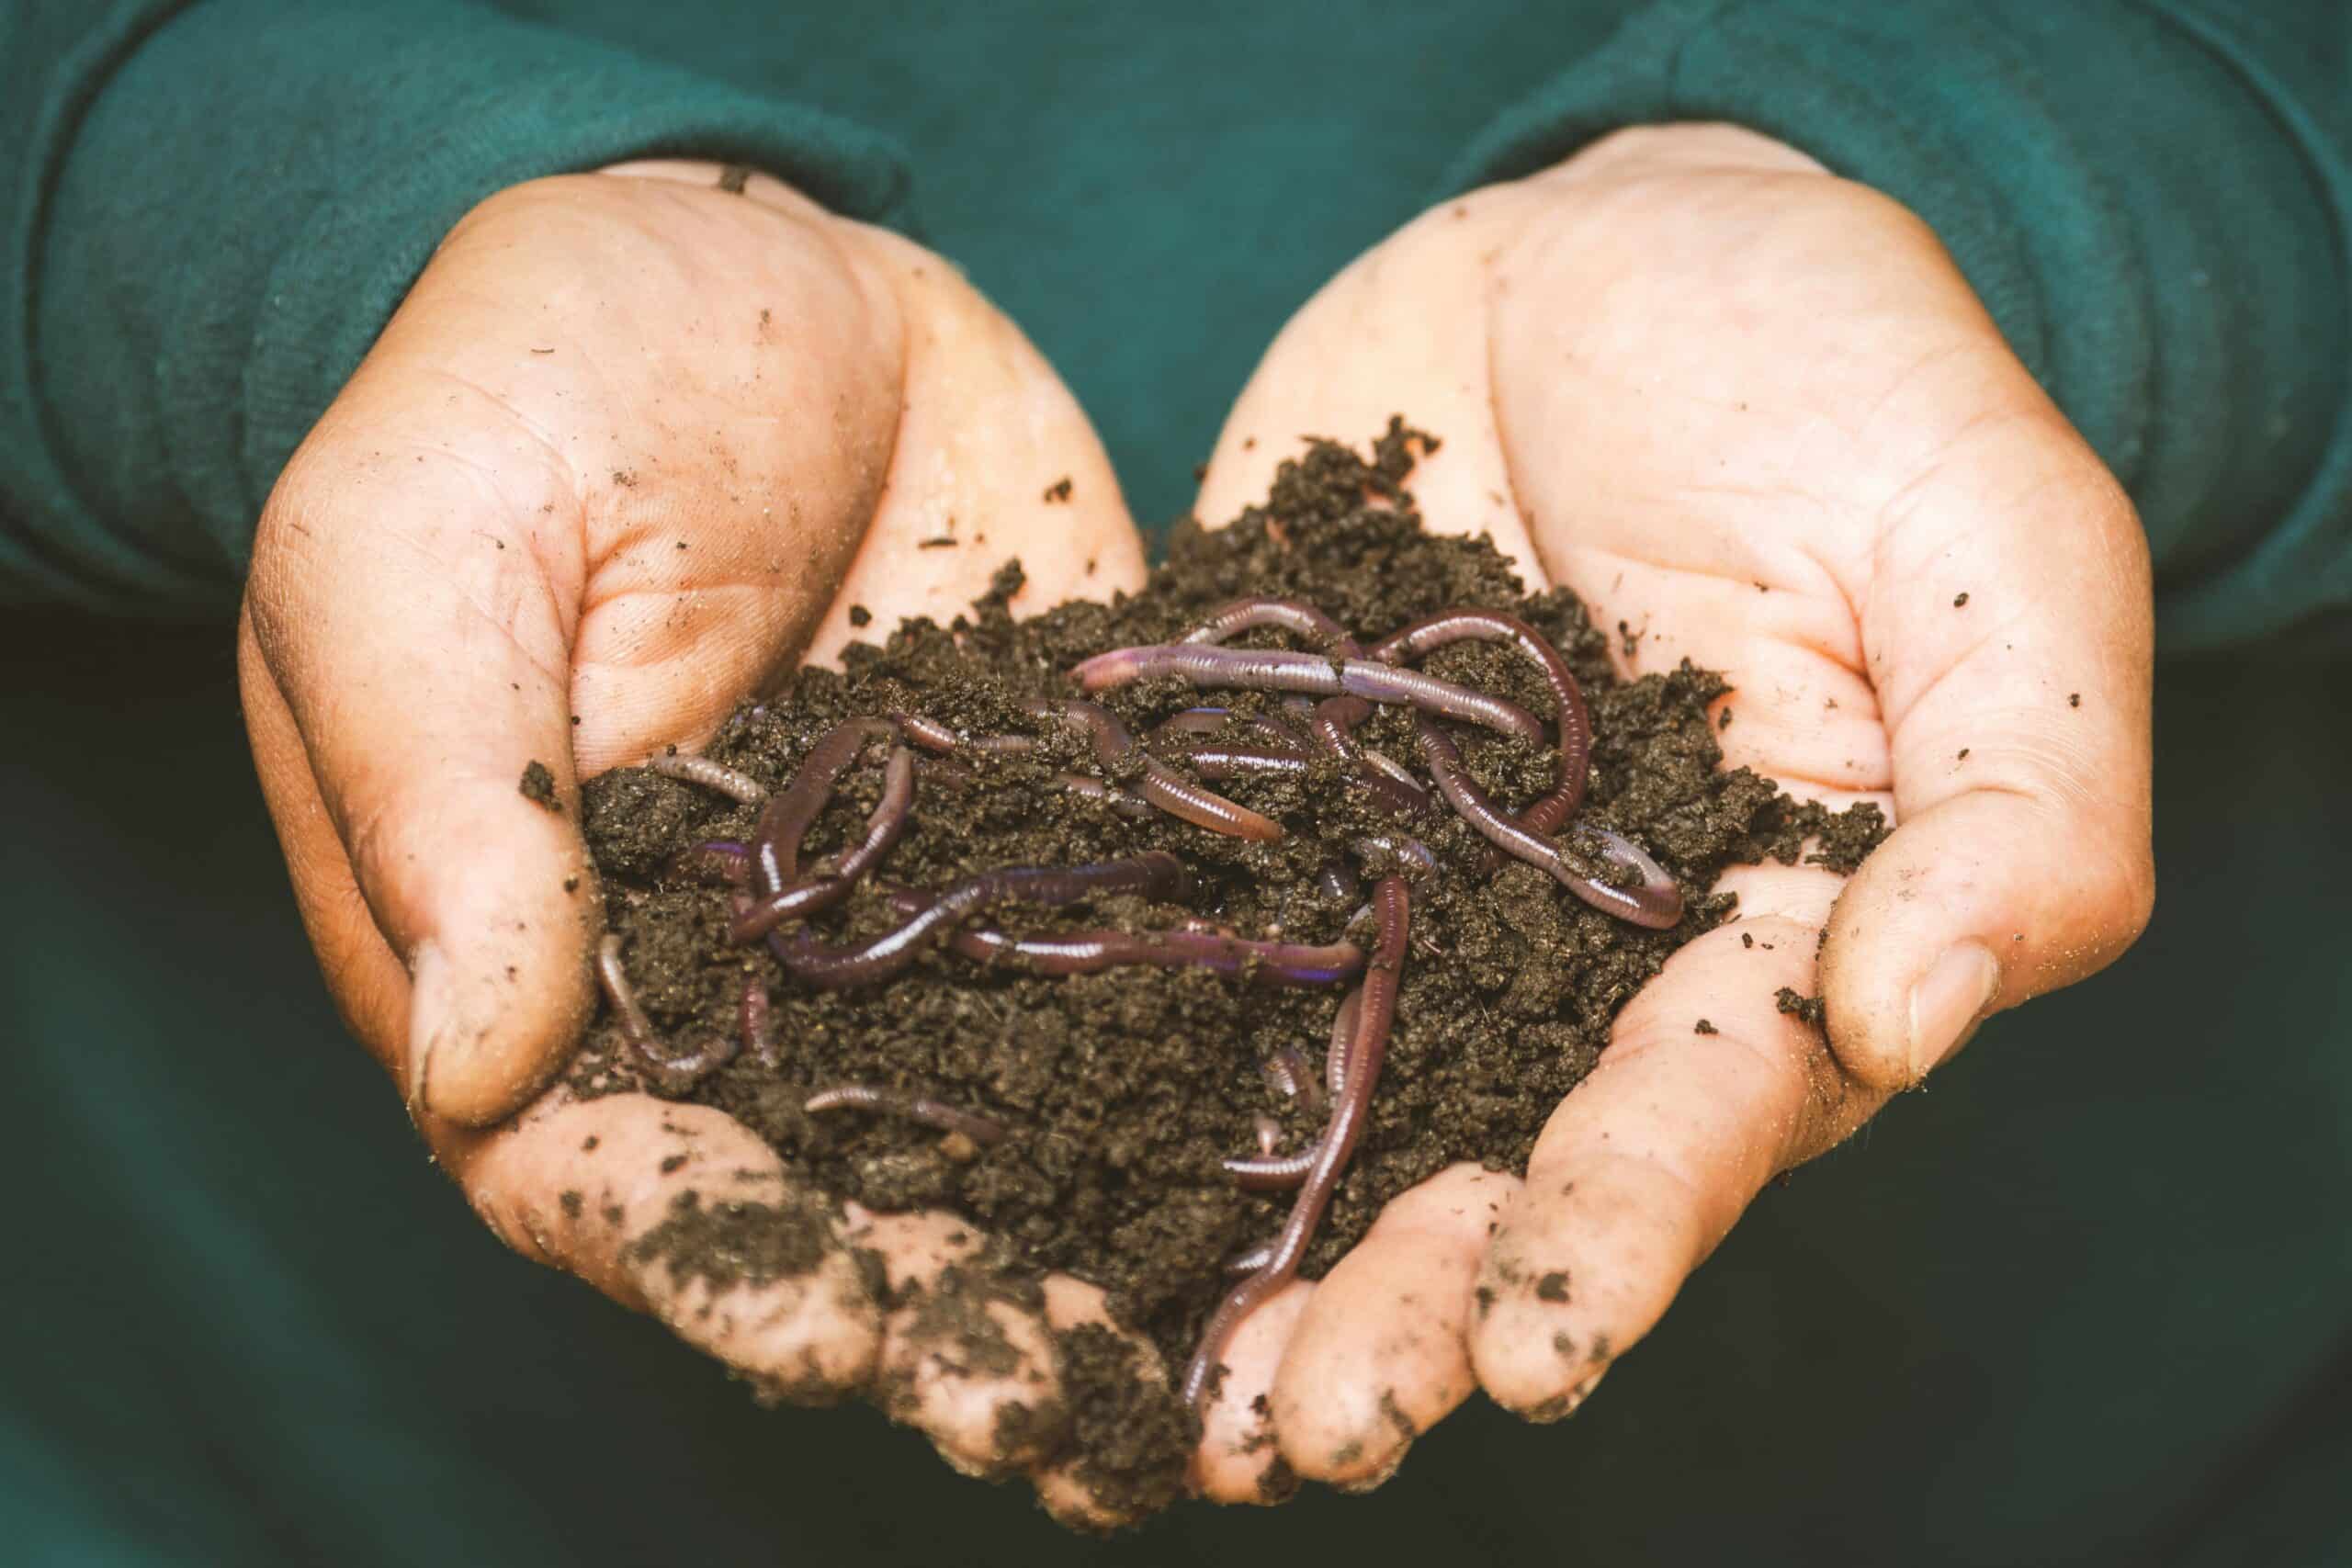
The process of worm composting involves the breakdown of organic matter by earthworms. These creatures consume organic material, digest it, and then excrete it as worm castings – a rich, fertile compost that’s great for plants. This process not only reduces waste but also enriches the soil, promoting healthier plant growth.
Benefits of Worm Composting
Worm composting has several benefits. First, it reduces the amount of organic waste that ends up in landfills, reducing methane emissions, a potent greenhouse gas. Additionally, worm composting is an excellent way to produce high-quality compost that can be used to enrich the soil in your house plants or garden.
- Eco-friendly: Vermicomposting is a great way to recycle organic waste, reducing the volume of waste that goes to the landfill.
- Rich in nutrients: The compost produced by worms is rich in nutrients that are beneficial to plants, making it a perfect organic fertilizer.
- Cost-effective: With a DIY worm compost bin, you can produce your own compost at home, saving money on store-bought soil amendments.
Setting Up Your Worm Composting Bin
Setting up a worm composting bin is relatively straightforward. Here is a step-by-step guide on how you can create your own worm composting bin.
Materials Needed
To start with worm composting, you will need a few basic materials:
- Plastic bin: A plastic bin with a lid, preferably dark-colored to keep out light. Size should be appropriate for the amount of waste you plan to compost.
- Drill: To create ventilation and drainage holes in the bin.
- Shredded paper or cardboard: As bedding for the worms.
- Composting worms: Red wigglers are the most recommended type of worm for composting.
- Food scraps: Organic waste like vegetable peels, fruit rinds, coffee grounds, and eggshells make great worm food.
Setting Up the Bin
Follow these steps to set up your worm composting bin:
- Drill holes: Drill several small holes in the bin for ventilation and drainage. Make sure the holes are small enough to prevent the worms from escaping.
- Add bedding: Fill about half of the bin with moistened shredded paper or cardboard. This will be the worms’ habitat.
- Add worms: Place your composting worms into the bin.
- Add food scraps: Bury food scraps in the bedding. Avoid meat, dairy, and oily foods as they can create foul odors and attract pests.
Troubleshooting Common Issues in Worm Composting
Even with the best setup, worm composting can sometimes face a few hiccups. Fortunately, most problems are easy to solve once you recognize the cause. Being observant and proactive can help keep your worm bin healthy and productive.
A common issue is a foul odor coming from the bin. A properly managed worm bin should have a mild, earthy smell. If your bin starts to smell bad, it may be too wet or contain food scraps that are not breaking down properly. The first step is to check the moisture level—if it’s soggy, mix in some dry bedding like shredded newspaper or coconut coir. Also, make sure to remove any uneaten food that’s been sitting too long, especially if it’s starting to rot.
Another frequent problem is mold or fungus growing in the bin. While some fungi are a normal part of the decomposition process, excessive mold may indicate that the bin is too damp or that food is not being consumed quickly enough. Try reducing the amount of food you add and make sure the bin is well-aerated.
If you see worms trying to escape, this is a sign that they are unhappy with the conditions. This could be due to improper moisture, temperature, or pH levels. Check each of these and adjust accordingly. Worms prefer a slightly acidic to neutral pH (around 6-7). If the bin becomes too acidic, add crushed eggshells or a small amount of agricultural lime to restore balance.
Managing pH and Odor
The pH balance of your worm bin plays a critical role in maintaining a healthy environment for your composting worms. If the bin becomes too acidic, the worms may become stressed or die. Signs of low pH include a sour smell, worms trying to leave the bin, and the presence of pests like mites.
To keep the pH in check, regularly add pH-neutral bedding such as shredded cardboard or coconut fiber. Crushed eggshells are also helpful, not only because they provide calcium but also because they help buffer the acidity in the bin. Avoid adding too much citrus fruit or acidic foods, as these can tip the balance and lower the pH.
If odor becomes a persistent issue, evaluate your feeding practices. Overfeeding is one of the most common causes of bad smells. Only feed the worms small amounts at a time, and wait until the previous food has been mostly consumed before adding more. Make sure to bury food waste well within the bedding to deter flies and prevent surface rot.
Preventing and Managing Pests
Although a well-maintained worm composting bin is relatively pest-free, occasional intruders can still appear. The most common are fruit flies, mites, and ants. These pests typically indicate that the bin is too moist, too acidic, or has food waste exposed on the surface.
To reduce fruit flies, always bury food scraps at least an inch deep under the bedding. You can also place a breathable cover, like a sheet of burlap or a layer of moistened newspaper, on top of the compost to act as a barrier. Trapping fruit flies with a small bowl of apple cider vinegar and dish soap near the bin can also help reduce their numbers.
If you see mites—tiny white or red insects—they are usually a sign of high acidity or excess moisture. As with pH issues, the solution involves adjusting the feeding regimen, adding dry bedding, and sometimes removing particularly acidic materials like citrus peels.
Ants tend to enter compost bins that are too dry. To deter ants, maintain the correct moisture level and avoid placing your bin directly on the ground. If you do notice ants, you can create a physical barrier using water or petroleum jelly around the legs or base of your bin.
Understanding Worm Behavior
Learning to read the behavior of your composting worms can provide valuable insight into the health of your system. Active, visible worms near the surface usually indicate a thriving environment. However, if they’re clumped in corners or trying to crawl out, they’re telling you something is wrong.
Worms naturally move away from light and heat. So, if you see them gathered at the bottom of the bin, it could mean the upper layers are too dry or too hot. In contrast, if they’re clustering near the lid, it might be a sign of excess moisture or low oxygen levels. Regularly turning or aerating the bedding can help prevent these issues.
Sometimes, worms will go into a reproductive phase where you’ll notice tiny lemon-shaped cocoons in the bedding. This is a good sign that the population is thriving. With proper care, a small initial colony of worms can double in population within a few months.
Expanding Your Worm Composting System
As your experience and comfort with worm composting grow, you may find that your original bin can no longer keep up with the amount of waste your household produces. In that case, consider expanding your system.
You can set up additional bins and rotate their use. For example, while one bin is actively composting and being fed, another can be in the harvesting phase. This rotation ensures that you always have space for fresh waste and never run out of finished compost.
Stackable worm bins are another great option. These systems allow you to add new trays on top of older ones. As the worms finish one layer, they naturally migrate upward toward the fresh food, leaving finished compost behind for easy collection.
If you’re short on space, consider a more compact solution like a vertical worm tower or a bucket system that can fit neatly in a kitchen corner or under the sink.
Using Worm Compost (Castings)
Worm castings are often called “black gold” because of their rich nutrient content and ability to improve soil structure. They can be used in a variety of ways around your home or garden.

For potted plants, mix worm castings into the top inch of the soil or blend them with potting mix before transplanting. The slow-release nutrients will promote root growth and overall plant health.
In the garden, castings can be sprinkled around the base of plants, mixed into seed-starting mixes, or worked into raised beds. They improve water retention, support beneficial microbial activity, and reduce the need for chemical fertilizers.
You can also make worm compost tea by soaking a handful of castings in a bucket of water for 24 hours. This liquid can be poured directly onto soil or sprayed on plant leaves as a foliar feed. Compost tea delivers nutrients quickly and can help plants resist pests and disease.
Educating Others About Worm Composting
Worm composting offers excellent opportunities to educate others about sustainability and soil health. Whether you’re a teacher, community organizer, or simply passionate about eco-friendly living, sharing your knowledge can inspire others to take action.
Start by explaining the basics: how worms turn waste into soil, what materials are compostable, and how easy it is to maintain a small indoor system. Demonstrations, videos, and interactive bins can be powerful teaching tools, especially for children and students.
Workshops and neighborhood composting clubs are also effective ways to build a community around worm composting. Local schools, urban farms, or environmental groups may be interested in partnerships to spread awareness and practice.
By helping others understand the process and benefits, you contribute not just to composting efforts, but also to the larger goal of sustainable living.
Scaling Up for Community or Commercial Use
Although worm composting is often practiced at a household level, it also has applications on a larger scale. Urban farms, restaurants, and schools are beginning to adopt vermicomposting systems as part of their sustainability strategies.
Commercial worm composting operations typically use flow-through systems that allow for continuous input and output. These systems are larger, often involve temperature and moisture automation, and require regular monitoring. However, they can process hundreds of pounds of organic waste weekly and produce marketable compost.
Community composting centers may also implement worm composting in centralized locations, collecting organic waste from residents and turning it into usable compost for local gardens or green spaces. These programs not only reduce municipal waste but also offer education, jobs, and stronger neighborhood connections.
If you’re interested in scaling up, start by researching local regulations, waste collection infrastructure, and grant opportunities for community or sustainable projects. Many municipalities offer support for composting initiatives through funding, materials, or technical assistance.
Conclusion
Worm composting is an eco-friendly, cost-effective, and space-saving way to reduce waste and produce nutrient-rich compost. By following these steps, you can set up and maintain your own worm composting bin in your apartment. Happy composting!
In conclusion, the concept of apartment-friendly worm composting is not only a highly practical solution for waste management but also a step towards a more sustainable and eco-friendly lifestyle. With the use of a DIY bin, anyone can transform their organic waste into nutrient-rich compost, which can be used to feed houseplants, gardens, or even shared with neighbors.
Despite the initial setup and maintenance, the benefits far outweigh the challenges. Not only does it reduce the waste that goes to the landfill, but it also provides a natural and organic solution to enhance soil fertility. Moreover, it serves as a unique, educational experience, fostering a deeper understanding and appreciation of nature’s recycling process.
Ultimately, worm composting is a clear testament to the saying, “one man’s trash is another man’s treasure.” By turning kitchen scraps into compost, we can contribute to the health of our environment in our own little way. So, let’s embrace this eco-friendly practice and make our homes and the planet a healthier place to live. Remember, every small effort counts in our journey towards sustainable living. Let’s start composting today!

