Anúncios
In an era where space is at a premium, vertical gardening offers an innovative solution to grow your favorite plants without compromising on space. Say goodbye to the traditional horizontal gardening methods, and embrace this revolutionary approach that allows you to create a lush, green paradise right in your living room, balcony or backyard.
In this step-by-step guide, we’ll shed light on every aspect of vertical wall gardening. From choosing the right location and selecting the perfect plants to step-by-step instructions on building your own vertical wall planter, this guide leaves no stone unturned. Get ready to cultivate an array of fresh herbs, beautiful flowering plants, or even a cascade of succulents in a unique and space-saving manner.
Anúncios
Let the walls of your home transform into a vibrant and lush oasis. With the right tools, a bit of creativity and our comprehensive guide, you’ll soon be on your way to building a stunning vertical wall planter. So, if you’re ready to embrace this gardening revolution and add a unique touch to your living space, keep reading and let’s dive right in.

Understanding Vertical Wall Planters
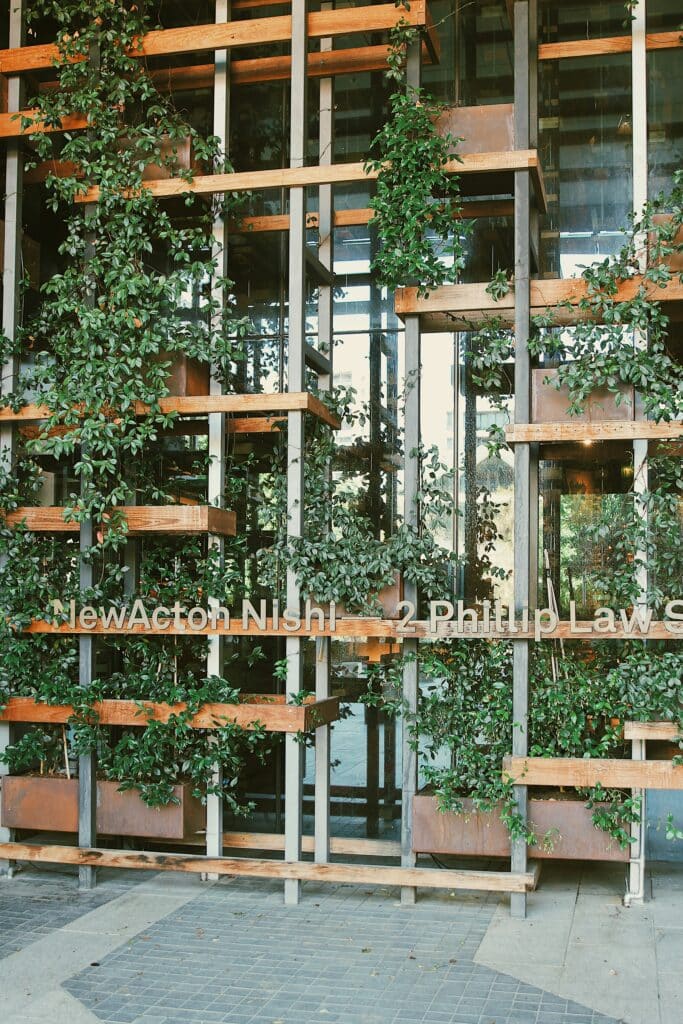
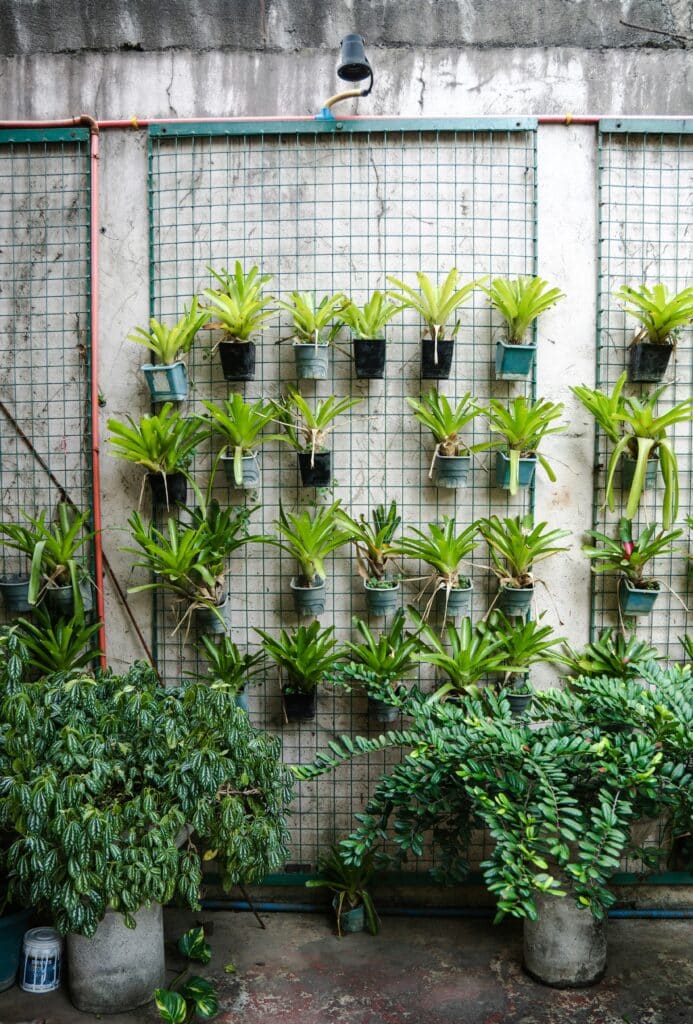
The concept of a vertical wall planter is not new, but it is rapidly gaining popularity due to its practicality and aesthetic appeal. Vertical wall planters, also known as living walls or green walls, are essentially containers that are mounted on walls to grow plants. This innovative gardening method not only saves space, but it also adds a distinctive, natural touch to your indoor or outdoor spaces.
Anúncios
From a technical perspective, vertical wall planters come in various designs and materials, including wood, metal, and plastic. Some are modular, allowing you to add or remove sections as needed, while others are fixed structures. This flexibility caters to gardeners with different needs, preferences, and spatial constraints.
Factors to Consider When Choosing Plants
- Light Requirements
Every plant has its own light preference, and this should be one of the first factors you consider when selecting plants for your vertical wall. Indoor and outdoor planters typically offer different light exposures:- Indoor Planters: These gardens generally receive indirect light or low light. Shade-loving plants or those that tolerate low light are ideal for this environment. For example, ferns, pothos, or ivy thrive in these conditions and will add a lush touch to your indoor vertical garden.
- Outdoor Planters: Outdoors, plants may be exposed to full sunlight or partial shade depending on where the planter is placed. Sun-loving herbs like rosemary, thyme, basil, and lavender are great choices for outdoor vertical gardens where sunlight is abundant. If your garden is in partial shade, consider plants like mint or parsley, which can handle dappled sunlight.
- Water Needs
Different plants have varying water requirements. Some plants thrive in moist environments, while others prefer drier conditions. In a vertical garden, water retention can be an issue, as water often trickles down from the top to the bottom.- Drought-tolerant plants like succulents, lavender, and sedum are ideal for vertical gardens that may experience quicker drying at the top.
- Moisture-loving plants like ferns or caladium need more frequent watering but can flourish if managed carefully.
Building Your Own Vertical Wall Planter
Creating a vertical wall planter is an exciting and rewarding DIY project that brings the beauty of nature into your living space. Not only does it add greenery to your environment, but it also allows you to maximize vertical space, making it an ideal solution for smaller areas like balconies, kitchens, or even interior walls. With some basic construction skills and the right materials, you can build a custom vertical garden that fits your aesthetic and functional needs.
Materials and Tools: What You’ll Need
Before diving into the construction, it’s important to gather the appropriate materials and tools for the job. The exact materials may vary depending on the design and style you envision, but here’s a basic list to get you started.
Materials:
- Wood or Metal for the Frame
The frame is the backbone of your planter. Wood is a popular choice due to its aesthetic appeal and ease of workability. However, metal (like galvanized steel) is also a durable and modern option, especially for outdoor planters.- For wood: Cedar or redwood are weather-resistant and great for outdoor use. If you’re building an indoor wall planter, you can use any wood that fits your style.
- For metal: Consider powder-coated steel for a rust-resistant, long-lasting option.
- Plant Containers or Pockets
You can either purchase pre-made plant containers designed for vertical gardening or create custom pockets using materials like landscape fabric or felt. The containers should be able to hold both soil and plants securely while offering proper drainage. - Landscape Fabric
Landscape fabric is essential to ensure that your plants have proper drainage. It helps separate the soil from the wall and prevents water damage. - Soil and Plants
Choose a high-quality potting mix for your plants. Herbs, succulents, and small flowers work well in vertical gardens. Be sure to select plants that suit your local climate and the amount of sunlight your vertical garden will receive. - Mounting Hardware
Mounting hardware, such as brackets, screws, and anchors, is crucial for securely attaching your vertical planter to the wall. Make sure your hardware is strong enough to support the weight of the planter, plants, and soil.
Tools:
- Drill
A drill will be necessary for making holes in the frame and wall to attach mounting brackets or screws. Make sure you have the correct drill bits for both wood and masonry, depending on the material you’re working with. - Screws and Nails
Screws are essential for securing the frame, while nails can be used for attaching the landscape fabric to the frame if you choose that option. - Level
A level will ensure that your vertical wall planter is perfectly straight when installed. This step is essential for both aesthetic balance and to ensure that water drains correctly. - Saw (if working with wood)
If you are cutting your own wood, a saw is needed. A circular saw or hand saw will work well depending on the thickness of the wood. - Measuring Tape
To ensure proper measurements for the frame and plant pockets, a measuring tape is essential.
Step-by-Step Instructions: Building the Vertical Wall Planter
Step 1: Design and Measure
Start by designing your vertical wall planter. Consider the number of plant pockets you want, their size, and how much space you have to work with. Use a measuring tape to mark the exact area on the wall where you want to install the planter.
If you’re unsure of the dimensions, a basic design could be a simple column of stacked pockets. You can divide the total width of your wall by the number of plant pockets to determine the size of each.
Step 2: Build the Frame
- Cut your wood or metal to the desired dimensions for your frame. If using wood, make sure the edges are smooth and clean.
- Construct the frame by connecting the vertical and horizontal pieces with screws, ensuring that everything is aligned properly.
- If you’re working with wood, make sure the joints are secure by using a screwdriver or drill. If using metal, ensure the pieces are welded or bolted securely.
Step 3: Install the Plant Containers or Pockets
- If you’re using pre-made planters, simply attach them to the frame with screws or mounting brackets.
- If you’re making your own pockets with landscape fabric, cut the fabric into rectangles, fold them into pocket shapes, and attach them to the frame using a stapler or nails. Ensure each pocket is large enough to hold the plants you’ve selected.
- Consider layering the pockets or planters to create a cascading effect, placing smaller plants at the top and larger plants toward the bottom.
Step 4: Add Landscape Fabric for Drainage
- Line the back and sides of the frame with landscape fabric to help with drainage. This fabric will prevent water from leaking through the frame while allowing moisture to escape from the soil.
- Secure the fabric with staples or nails, ensuring there are no gaps that could allow water to damage the wall.
Step 5: Attach the Planter to the Wall
- Use your level to ensure that the frame is straight before securing it to the wall.
- Attach mounting brackets to the back of the frame, ensuring that the screws are spaced evenly and deep enough to support the weight of the soil and plants.
- Secure the planter to the wall using strong wall anchors (if you’re attaching it to drywall or a non-load-bearing surface). For masonry or brick walls, make sure to use masonry anchors.
Step 6: Fill with Soil and Plants
- Fill each pocket or planter with high-quality potting mix. Add enough soil to allow for proper root growth but be mindful not to overfill.
- Gently place your selected plants into each pocket or container. Make sure each plant has enough space to grow and receive sufficient light.
Step 7: Water and Maintain
Now that your vertical wall planter is set up, make sure to water your plants according to their specific needs. Install a drip irrigation system or water manually, ensuring that the water reaches all pockets evenly.
Additionally, monitor the plants regularly for signs of pests, dehydration, or overcrowding, and prune as needed to maintain a healthy, lush garden.
Constructing the Frame
The frame is the backbone of your vertical wall planter. It should be sturdy enough to support the weight of the plants, soil, and water. A simple square or rectangular frame is an excellent starting point for beginners.
Mounting the Planter
Once your frame is constructed and your plant containers or pockets are securely attached, it’s time to mount the planter on the wall. This step requires careful measurement to ensure that the planter is level and securely fastened to the wall.
Planting and Care
With the construction complete, it’s time to add your plants. Fill the containers or pockets with soil, then carefully insert your chosen plants. Water thoroughly after planting.
Taking care of a vertical wall planter is similar to traditional gardening but does require a few special considerations. These include regular watering, as vertical planters can dry out faster than ground-level gardens, and regular checking of the structure’s integrity.
Harvesting and Maintenance
If you’ve planted edible plants or herbs, harvesting regularly can help to keep the plants healthy and productive. For decorative plants, regular pruning may be necessary to maintain the desired appearance. Keep in mind to routinely check the condition of your vertical wall planter, paying attention to the health of your plants and the stability of the structure.
In conclusion, building a vertical wall planter is a feasible project that can enhance your living space and gardening experience. It provides an opportunity to grow a lush garden even in limited spaces, fostering a deeper connection with nature and adding an element of tranquility to your everyday environment.

Conclusion
“Grow Up: The Ultimate Guide to Building Your Own Vertical Wall Planter for a Lush and Space-Saving Garden” is a must-read for every gardening enthusiast seeking to maximize their space and create a stunning garden. This guide successfully sheds light on the concept of vertical gardening, offering readers practical and innovative ways to transform their walls into lush, green spaces.
Moreover, the step-by-step approach to constructing your own wall planter is a game-changer, making gardening more accessible for everyone, even those with limited space. By introducing the concept of vertical gardening and explaining how to build your own wall planter, the guide paves the way for you to embrace an eco-friendly lifestyle.
In essence, this guide not only boosts your gardening skills but also instills in you the ability to create a beautiful garden in minimal space. It indeed redefines the traditional understanding of a garden, proving that you don’t need an expansive yard to nurture your green thumb. Therefore, we highly recommend you to delve into this valuable resource to unlock the numerous possibilities that come with vertical gardening. The vibrant, space-saving garden of your dreams is now within your reach, thanks to this comprehensive guide.
🌿🌸🍃 Happy Gardening! 🍃🌸🌿

